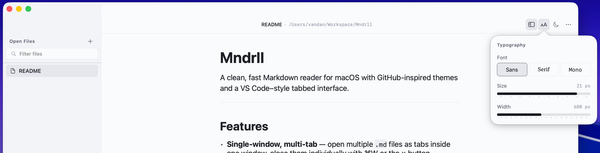
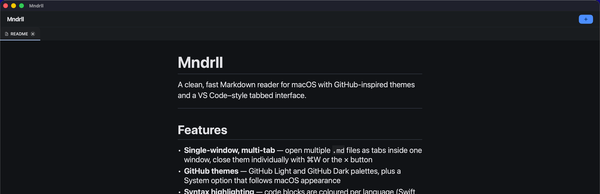
Measuring your WiFi Quality
I live in a townhome and this router sits on the first floor. With all of us working from home; the connection has been spotty in some of our rooms. The download speed is great when you get a good connection but the stability is worst.

I have been using the router provided by my ISP provider (out of laziness) for the past few months. Those routers aren't bad, but they do not work for every home environment. I live in a townhome and this router sits on the first floor. With all of us working from home; the connection has been spotty in some of our rooms. The download speed is great when you get a good connection but the stability is worst.
When it comes to networking, I know the basics and I know enough to understand the issue with my WiFi connection and that I need a stronger router. Before I got my Eero; I wanted to check my WiFi quality through out the house. Even if you have a stronger signal everywhere, one has to consider the noise. The amount of devices connected to WiFi one has these days is mind boggling. I counted 27 devices connected to my WiFi network including 9 WeMo switches, a ring doorbell and a Nest thermostat.
macOS has a utility to check your wifi connectivity - airport. Running this will show important metrics that you need to understand the quality of your WiFi Network:
     agrCtlRSSI: -40
     agrExtRSSI: 0
    agrCtlNoise: -93
    agrExtNoise: 0
          state: running
        op mode: station
     lastTxRate: 234
        maxRate: 867
lastAssocStatus: 0
    802.11 auth: open
      link auth: wpa2-psk
          BSSID: 1x:1x:1:1x:11:1
           SSID: XXXXXXXXXX
            MCS: 5
        channel: 48,80
Two numbers are most important here. agrCtlRSSI (Received Signal Strength Indicator) is the power of the received signal in the wireless network. It uses a logarithmic scale expressed in decibels (db) and typically ranges from 0 to -100. The close this number is to 0 the better quality of signal.
The second is Noise or agrCtlNoise; is the impact of unwanted interfering signal sources, such as distortion and radio frequency interference. This is also measured in decibels (db) from 0 to -120. The lower the value i.e closer to -120 means little to no noise in the wireless network.
Once you have these two values, you can now measure the Signal to Noise Margin (SNR Margin) with the simple formula agrCtlRSSI - agrCtlNoise.
Higher value means better WiFi Signals.
To truly monitor the quality of this, I wanted something that could track the wifi quality continuously. Not much could truly give me WiFi Quality so I had two choices. Write a simple shell script that could continuously run, capture the two metrics and provide me with the SNR Margin. Which would mean I had keep the terminal open and let that run.
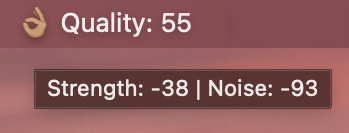
Since I have been tinkering with golang, this was a good way to learn something new. I found a golang library getlantern/systray that allows you to run a golang app in the system tray. I then used mholt/macapp that allows me to build a macOS application. Now I have a continuous running application that update the WiFi signal every 15 seconds. You can download the code or the WiFiQuality.app on my GitHub.